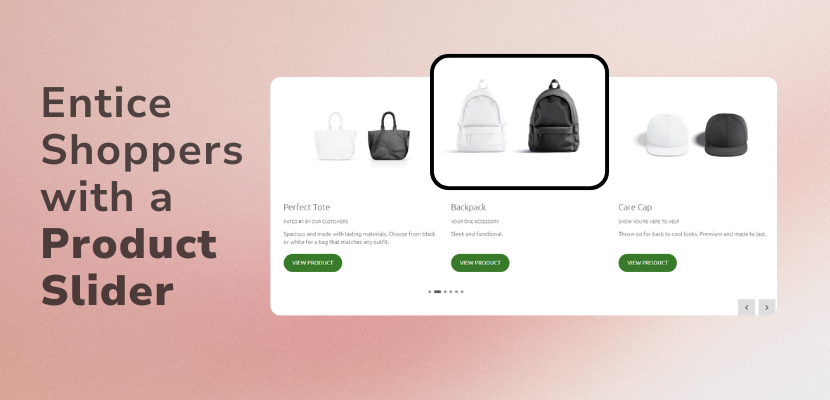
A product carousel is one of the easiest ways to showcase multiple products without taking up too much space on your website. It helps draw attention to featured items, encourages visitors to browse, and creates a more engaging shopping experience.
With the Slider section in the Website.com Site Builder, you can create a fully customizable product carousel that links directly to your online store products. In this guide, we’ll walk you through the process step by step.
Before You Start
Before creating your product carousel, make sure you’ve:
- Created your online store
- Added your products
- Uploaded your product images
Once everything is ready, you’re ready to build your carousel.
Step 1: Add a Slider Section
- Log in to the Website.com Site Builder.
- Navigate to the page where you want your product carousel to appear.
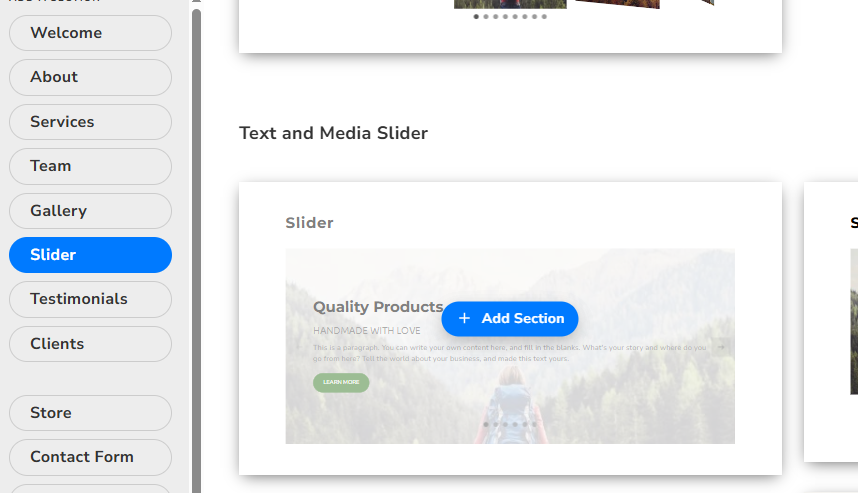
- Click Add Section where you want to add the section.
- Select Slider.
- Choose a Text and Media slider.
The Text and Media slider offers the most flexibility for customizing product text, buttons, and layouts.

Step 2: Remove the Section Heading (Optional)
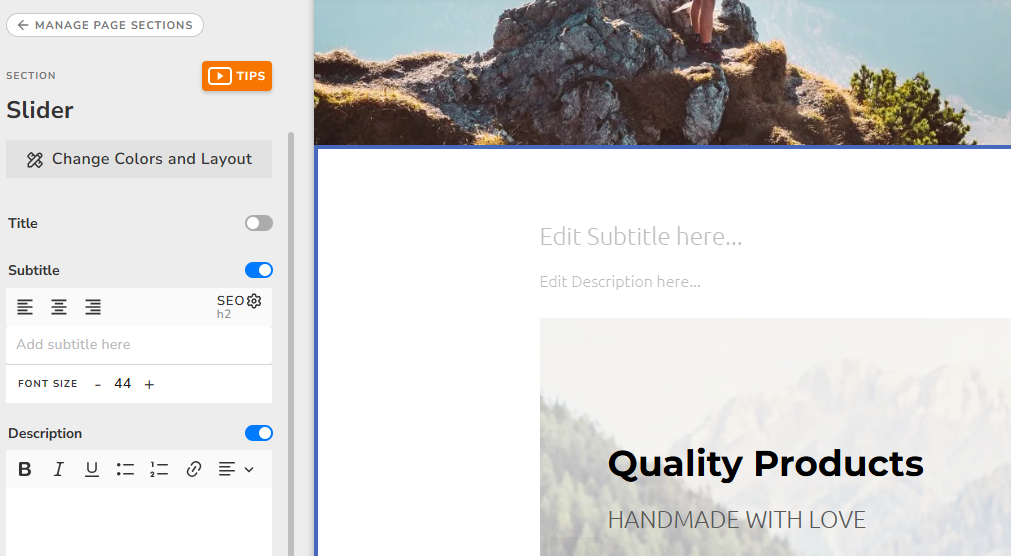
The slider includes a title, subtitle, and description by default.
If you’d rather let your products take center stage:
- Click on the overarching slider (make sure you haven’t clicked on a single slide) to see the slider settings.
- Toggle off the Title, Subtitle, and Description.
This creates a cleaner, more product-focused design.
Step 3: Customize Your First Product Slide
Click directly on the first slide to begin editing.
Update the Product Image
Under Media, you can:
- Upload a new image
- Choose an existing image from your File Manager
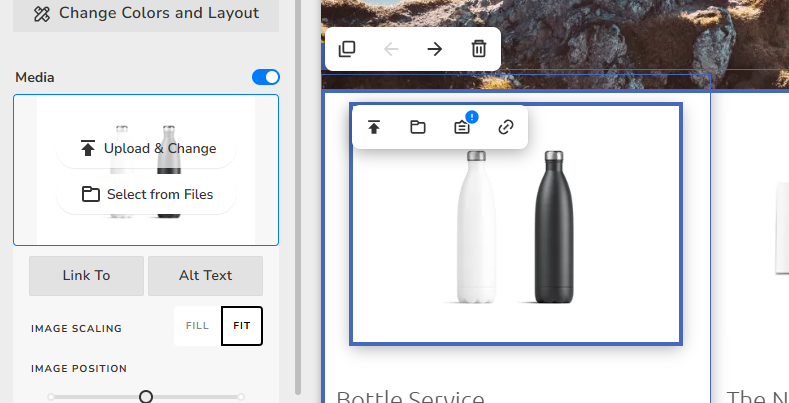
Once you’ve selected your image, change the image display from Fill to Fit if you’d like the entire product to remain visible.
Add Product Information
Update the slide with:
- Title: Product name
- Subtitle: A key selling point
- Description: A brief overview or product details
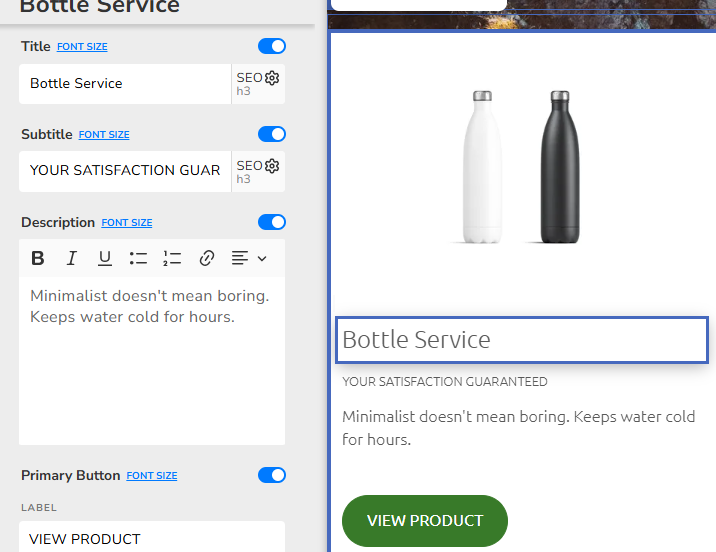
Keep your copy concise and focused on the benefits of the product.
Step 4: Link the Button to Your Product
Next, connect the slide directly to the corresponding product in your online store.
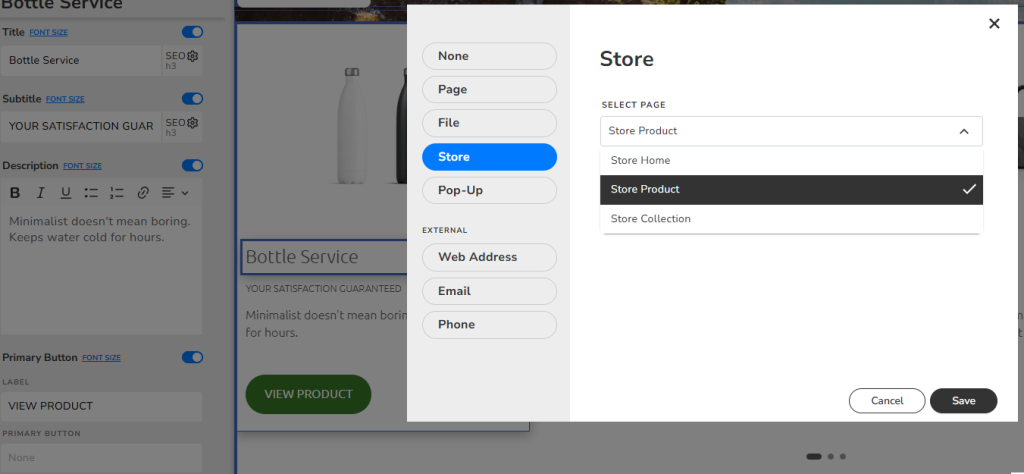
- Click the button on the slide.
- Change the button label to View Product.
- Click under Primary Button,
- Select Store.
- Choose Store Product.
- Select the product you want to connect.
Now, when visitors click the button, they’ll be taken directly to that product’s page.
If you don’t need a secondary button, simply toggle it off.
Step 5: Add More Products
Repeat the same process for each product you’d like to feature.
To manage your slides:
- Add a slide: Click Add Item
- Delete a slide: Hover the cursor on the item you want to delete, click the pencil icon, then Delete
- Reorder slides: Use Move Up or Move Down after selecting the pencil icon
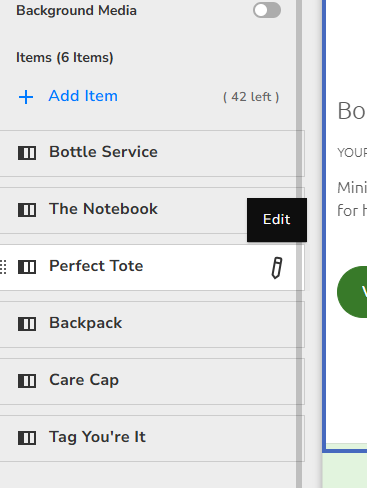
This makes it easy to organize your featured products in any order you prefer.
Step 6: Customize the Carousel Layout
Once your slides are complete, click Change Colours and Layout.
Here you can customize:
- Colour scheme
- Section layout
- Text alignment
- Media aspect ratio
- Full-width display
- Top and bottom padding
Experiment with these settings to find the look that best matches your website.
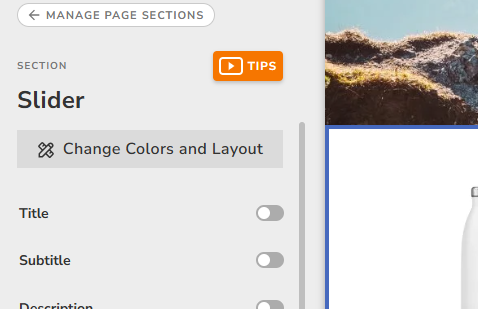
For example, a full-width slider creates a bold, attention-grabbing display, while a standard-width layout gives your content more breathing room.
Step 7: Adjust the Slideshow Settings
Now it’s time to customize how your carousel behaves.
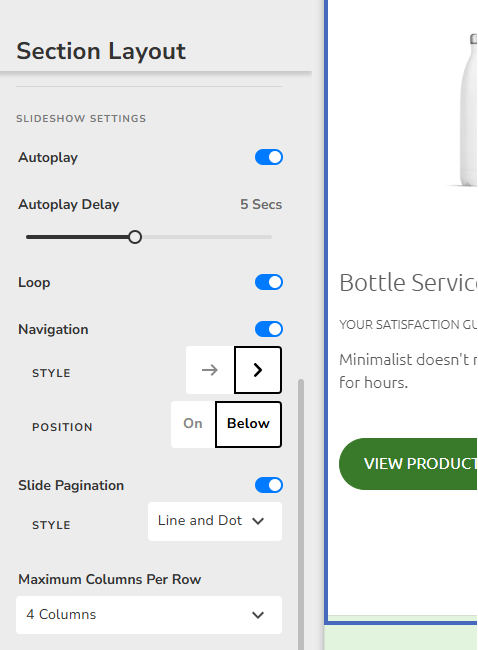
Enable Autoplay
Turn on Autoplay and choose how often the slides advance automatically.
For example, setting the timing to 5 seconds keeps the carousel moving without feeling too fast.
Turn on Looping
Enable Loop if you want the carousel to continue cycling through products indefinitely, instead of stopping at the last slide.
Show Navigation Controls
Keeping navigation enabled allows visitors to manually browse through your products using the slider controls.
Enable Pagination
Pagination shows shoppers which slide they’re currently viewing.
Choose the style that best suits your design.
Choose the Number of Products Per Row
You can also decide how many products appear at once.
For example:
- 3 products per row for larger product cards
- 4 products per row to showcase more items at once
Choose the layout that works best for your products and overall page design.
Step 8: Publish Your Website
Once you’re happy with your product carousel, click Publish to make your changes live.
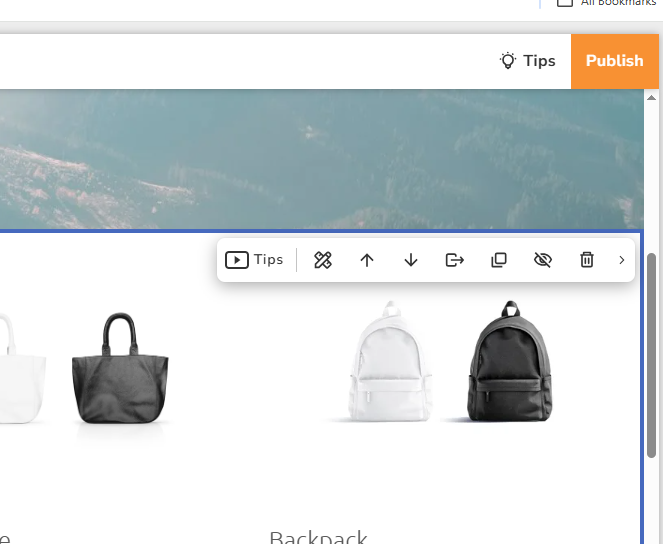
Visitors will now be able to browse your featured products and click View Product to go directly to each product page, where they can learn more and add items to their cart.
Final Thoughts
A product carousel is an effective way to highlight featured products, new arrivals, seasonal collections, or best sellers without overwhelming your page layout.
With the Website.com Slider section, you can easily customize the design, control how the carousel behaves, and link every slide directly to your store products—all without writing a single line of code.
Try experimenting with different layouts, autoplay settings, and product selections to create a shopping experience that’s both visually engaging and easy to navigate.
Here’s a video tutorial to watch it all demonstrated in real time: